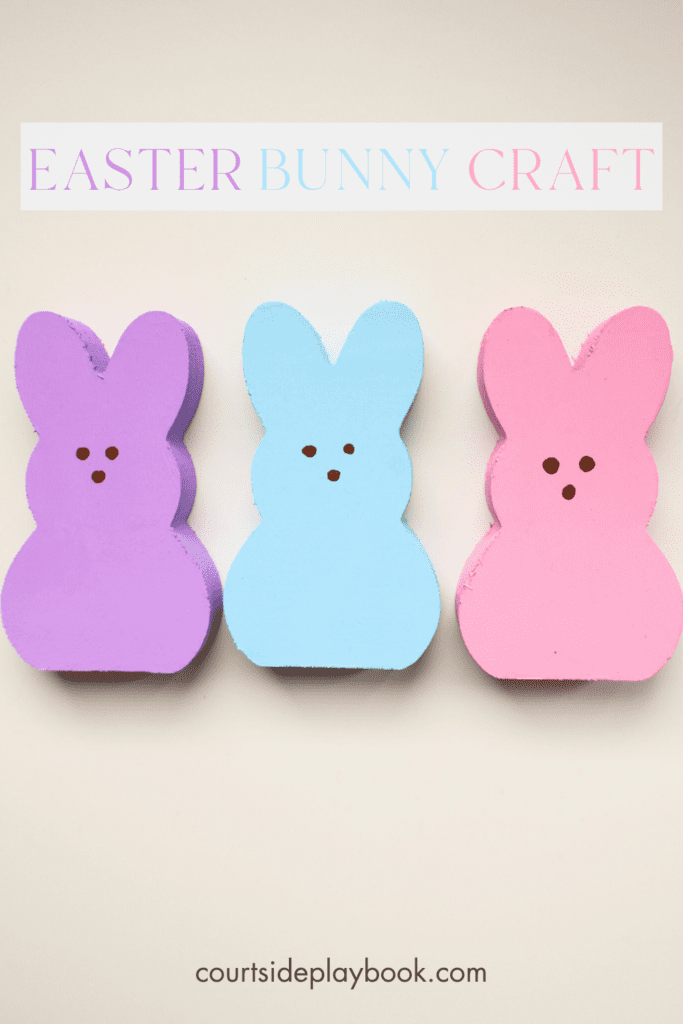
DIY: Easter Bunny Craft
Want to learn how to create a super simple DIY easter bunny craft? This is the tested and approved step-by-step guide to make an adorable Easter Bunny craft for adults and kids.
Decorating for the Easter holiday is super exciting, and if you’re anything like me, you’re doing all the research you possibly can to ensure you’re prepared.
As an amateur crafter myself, I am sharing how to make this super-simple DIY Easter bunny craft using visuals and written instructions. You will learn what materials are needed, step-by-step instructions, and decoration ideas.
This post is all about how to make a DIY Easter Bunny Craft in 5 easy steps.
DIY: Easter Bunny Craft
Disclosure: There are some affiliate links below, and I may receive commissions on purchases made through them, but all products are ones I highly recommend. I won’t put anything I haven’t verified or personally used on this page. Buying these highly recommended products costs you nothing extra, but it helps support my small business.
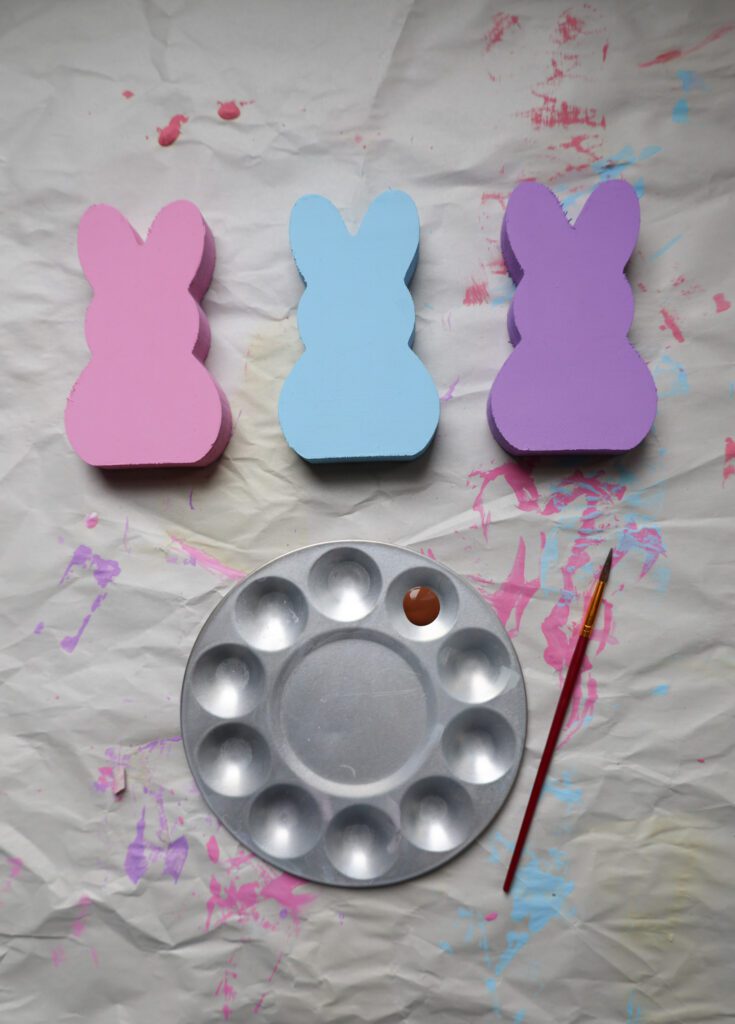
Step #1: Set-Up Materials
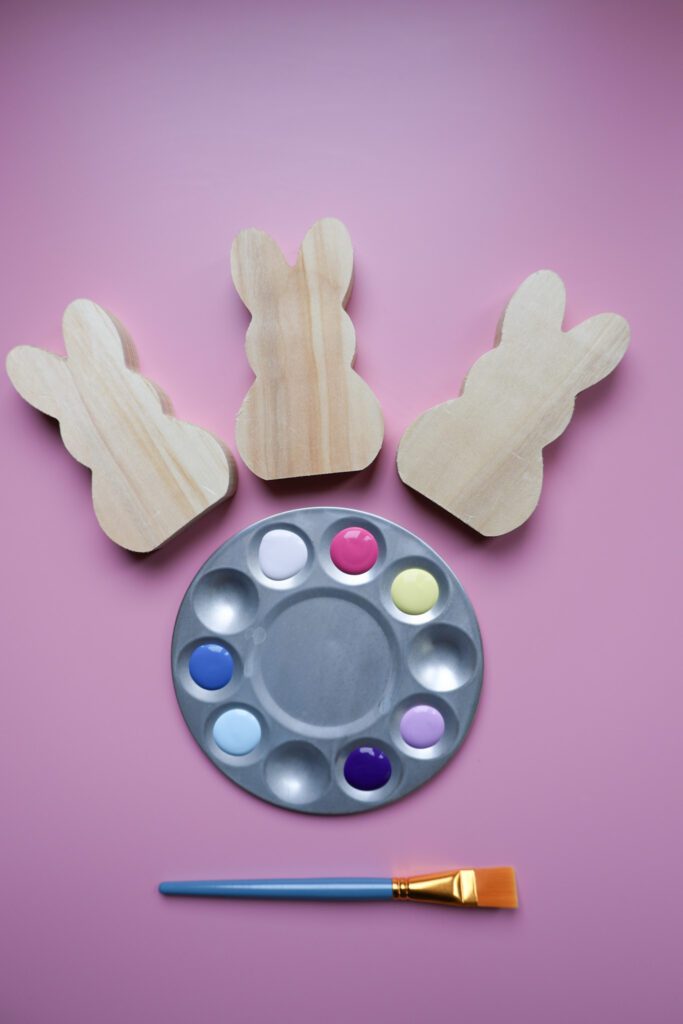
To create your DIY Easter Bunny craft, you will need to gather and set up the following crafting materials:
Materials
- Acrylic Paint
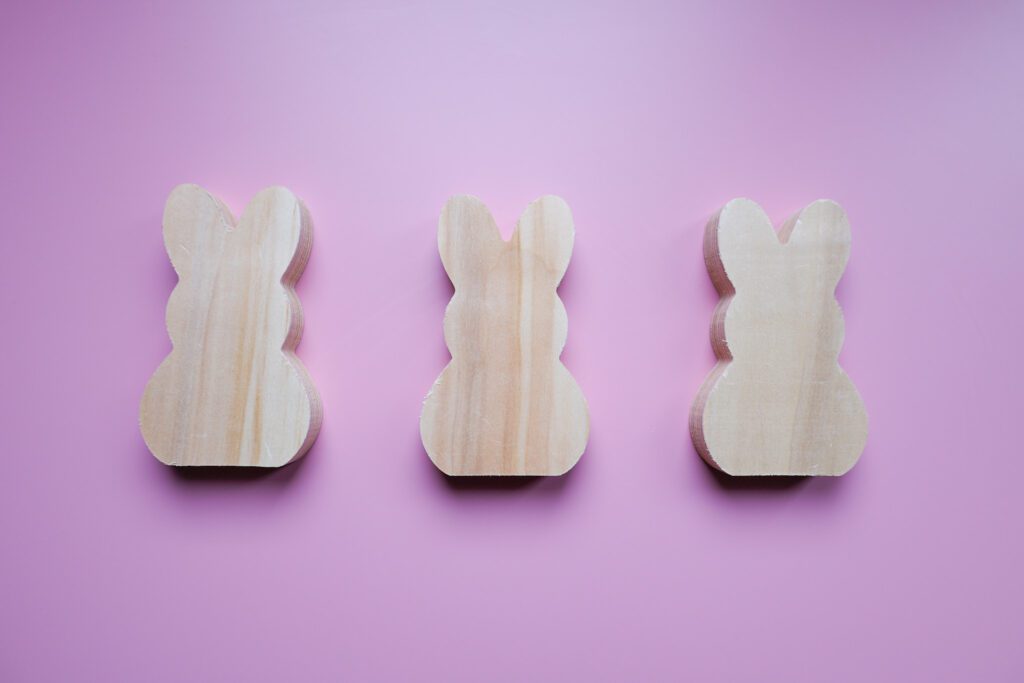
- Easter Bunny Wood Cutouts
- Glitter (optional)
- Modge Podge Matte Finish
- Paintbrush Set
- Paint Palette
- Sander (optional)
- Scrap Paper/Newspaper
- Towel/Cloth (to clean paintbrushes between uses)
- Water Cup (to clean paintbrushes between uses)
Recommendations for Acrylic Paint Colors:
You will need brown acrylic paint for the eyes and nose.
Here are some pastel and spring colors to consider for painting your Easter Bunnies.
- Baby blue
- Lavendar
- Light pink
- Mint green
- Pale yellow
Lay down the paper on a hard surface to prevent paint messes.
Step #2: Paint the Front
If you choose to sand the wood for evenness, then do this before painting. I didn’t sand before, and my easter bunnies still turned out pretty cute.
After identifying at least three spring colors you want to use, squeeze them onto the paint palette.
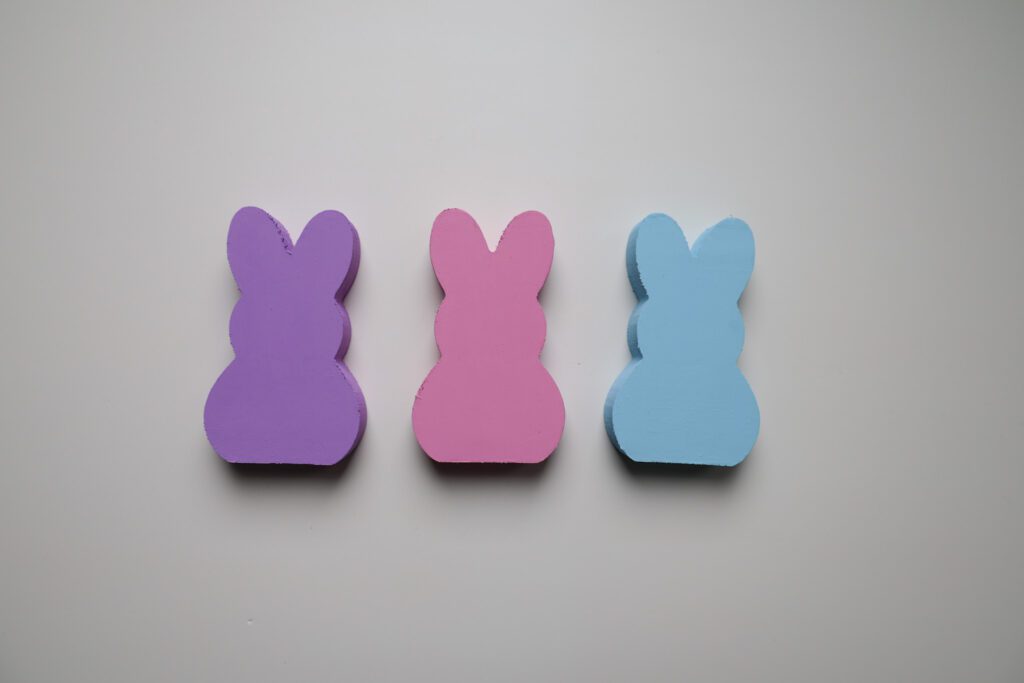
Use the paintbrush to paint the front and sides of the Easter Bunny Wood Cutouts.
Allow the acrylic paint on the front to dry completely before painting the back and sides missed in the first application.
Add 2-3 coats of paint, and if you want to add glitter, wait until the last coat is still wet.
Don’t forget to wash your paintbrushes between uses with the water cup and towel, or rinse them in the sink, so the bristles aren’t damaged by dried paint.
Step #3: Paint the Back
I would recommend adding a second, and even a third, coat of paint for more even coverage and consistency.
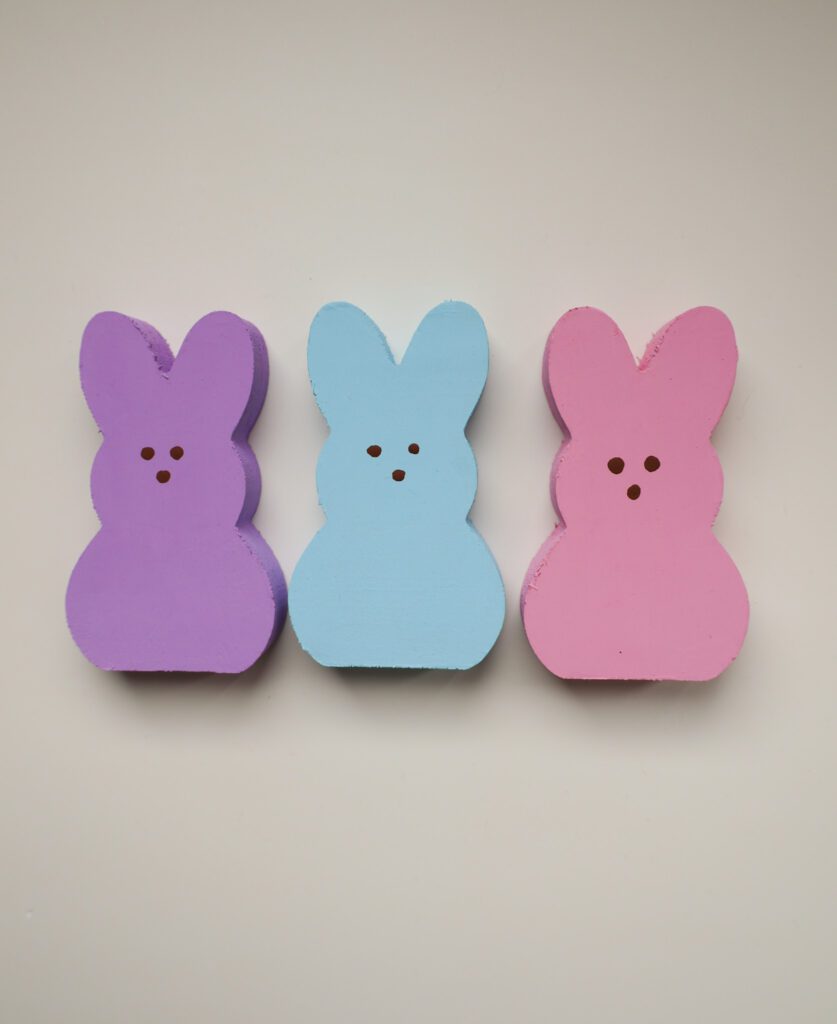
Step #4: Add Eyes and Nose
Once the paint on the front and back of the Easter Bunny has dried completely, use a fine-tip paintbrush and brown acrylic paint to make three tiny brown circles.
- Two tiny circles for eyes
- One tiny circle for the nose
Allow the brown acrylic paint to dry completely.
Step #5: Apply Mod Podge
Using a soft paintbrush, apply a coat of Mod Podge evenly by moving the brush in the same direction to avoid brush marks.
You may use a smaller paintbrush to ensure the Mod Podge doesn’t build up on the edges and sides. Allow the Mod Podge to dry completely.
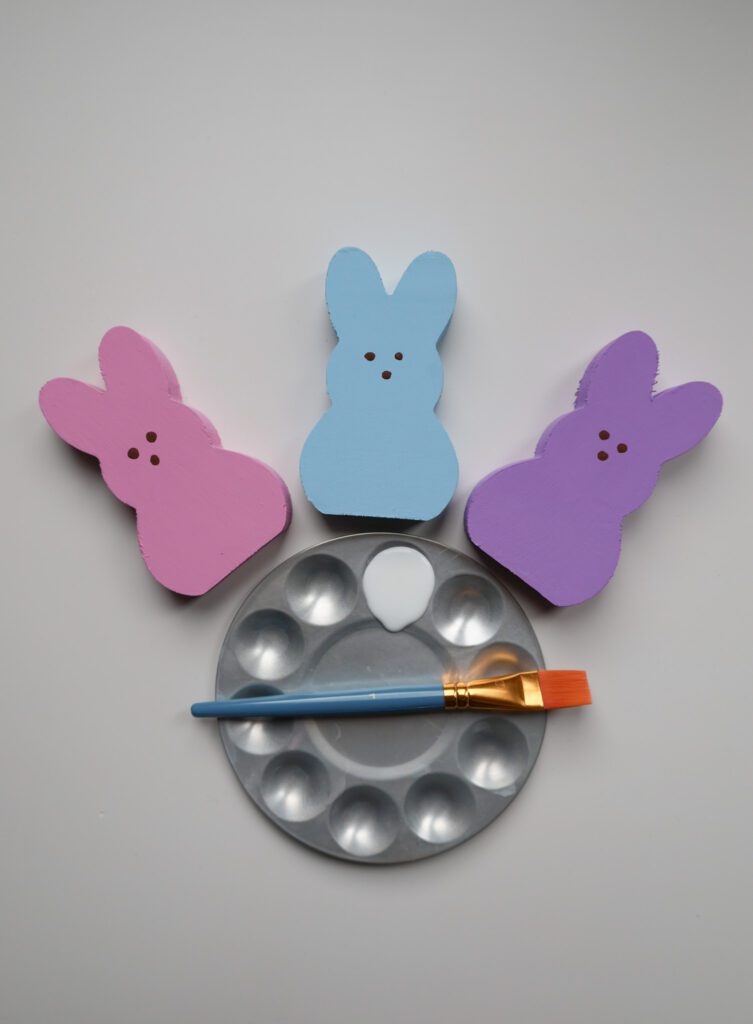
Mod Podge seals the acrylic paint and protects it from yellowing and/or lifting. I like the matte Mod Podge because it dries clear, leaving a non-reflective, smooth finish.
Easter Bunny Craft: Clean Up Checklist
- Empty water in the paint cup
- Ensure lids are tight on paint and Mod Podge
- Rinse the acrylic paint and Mod Podge off the paintbrushes
- Throw away the scrap paper
- Wash the paint palette
- Wipe down the surface with a sanitizing spray
Once fully dry, proudly display your DIY Peeps Decorations for the Easter Holiday:
- Bookcases
- Coffee Table
- Display Cabinets and/or Cases
- Nightstand in the Kids’ Room
- Shelving Units
- Side Tables
- Tablecenter Piece
DIY: Easter Bunny Craft in 5 Easy Steps
OTHER POSTS YOU MAY LIKE


© 2026 Courtside playbook. all rights reserved.
THIS WEBSITE IS A PARTICIPANT IN THE AMAZON SERVICES LLC ASSOCIATES PROGRAM, AN AFFILIATE ADVERTISING PROGRAM DESIGNED TO PROVIDE A MEANS FOR SITES TO EARN ADVERTISING FEES BY ADVERTISING AND LINKING TO AMAZON.COM.
PRIVACY POLICY
DISCLAIMER POLICY
TERMS AND CONDITIONS